A light concrete floor starts already with the fresh concrete. This site of Glansbeton shows the execution of white concrete coloured throughout. The photos follow the floor through various work phases: from pouring between the reinforcement to the polished surface and the curing.
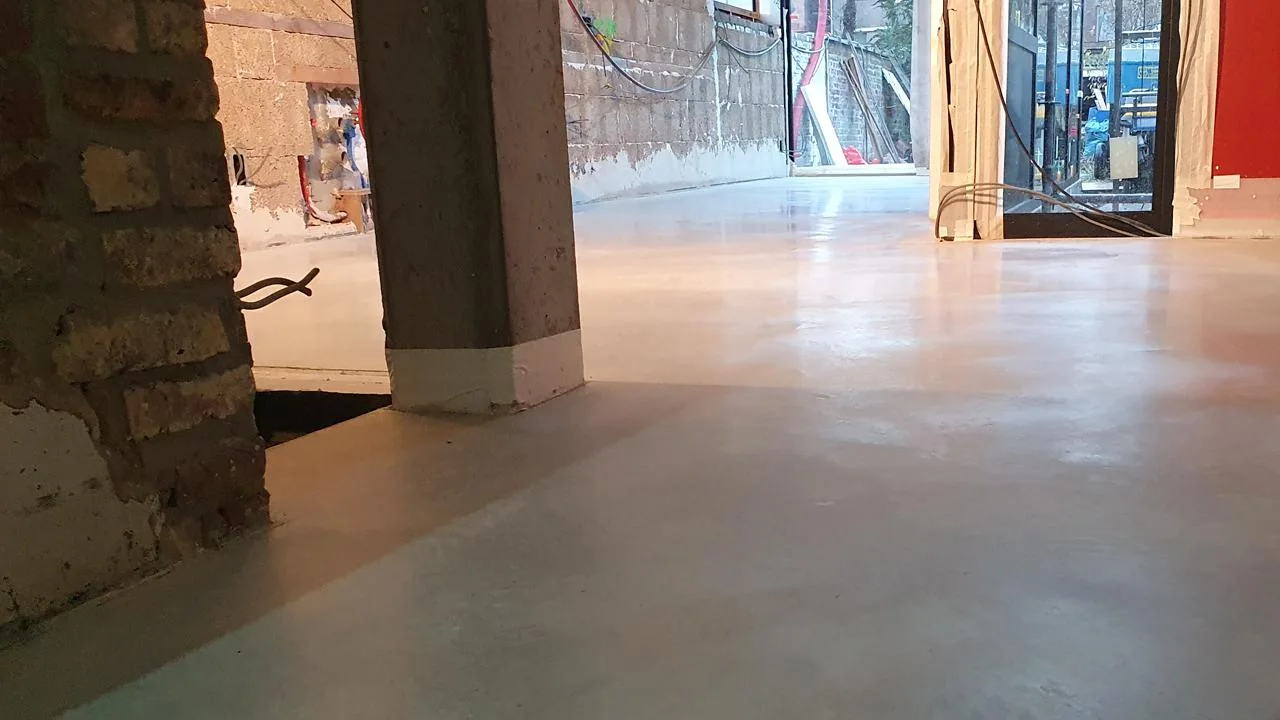
The colour is in the concrete mix
The original project report describes a white concrete floor whose colour was incorporated in the mix. This differs from a white paint layer applied afterwards on an existing floor. The pouring photos show that the fresh material already has a light tint.
The choice for a light floor has consequences for preparation and execution. The desired colour and finish must be clear in advance. Moreover, the final appearance does not only arise from the colour of the fresh concrete: light incidence, the finish and the condition of the surface influence what you see.
Step 1: pouring the concrete
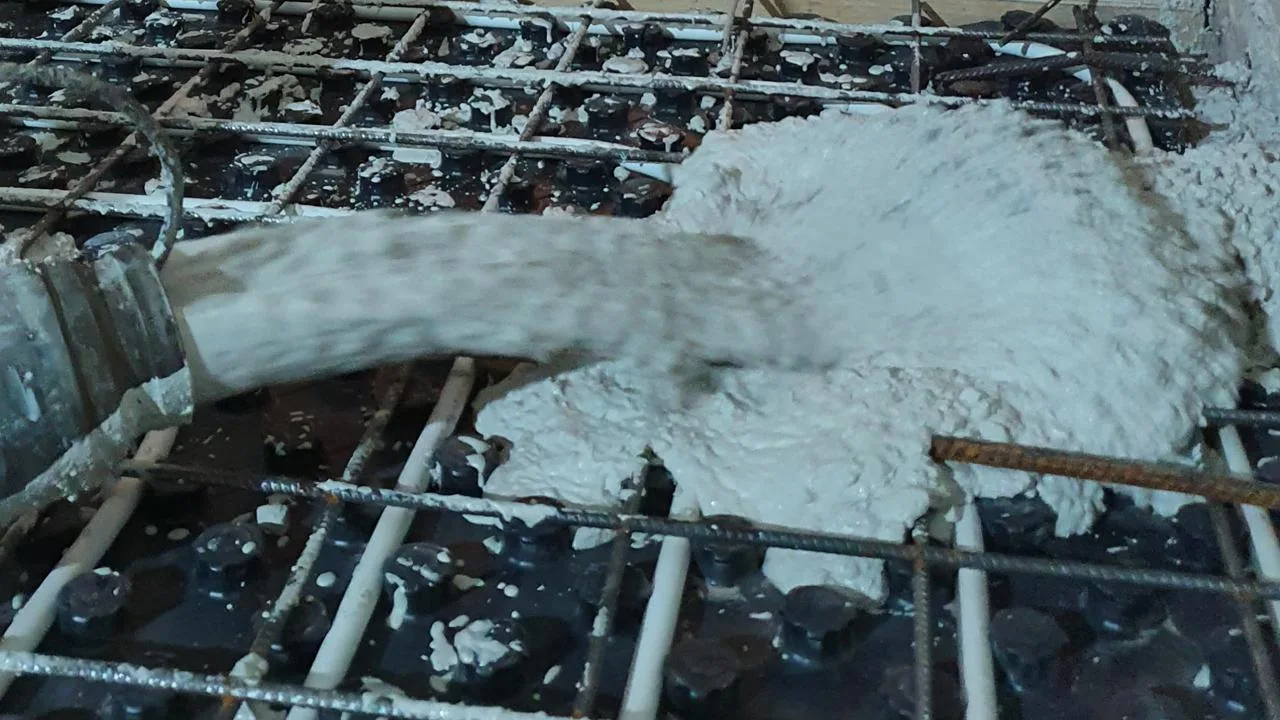
In the first execution photo, the concrete is delivered via a hose. The reinforcement is still visible in the uncovered section. This image gives a clear idea of how the floor develops during pouring, before there is a smooth finished surface.
The site photo shows the construction at that moment, but is not a reinforcement plan. For a new floor, support, floor thickness and reinforcement are adjusted according to the design and load. The dimensions of another house cannot be directly taken from this photo.
Step 2: spreading and screeding
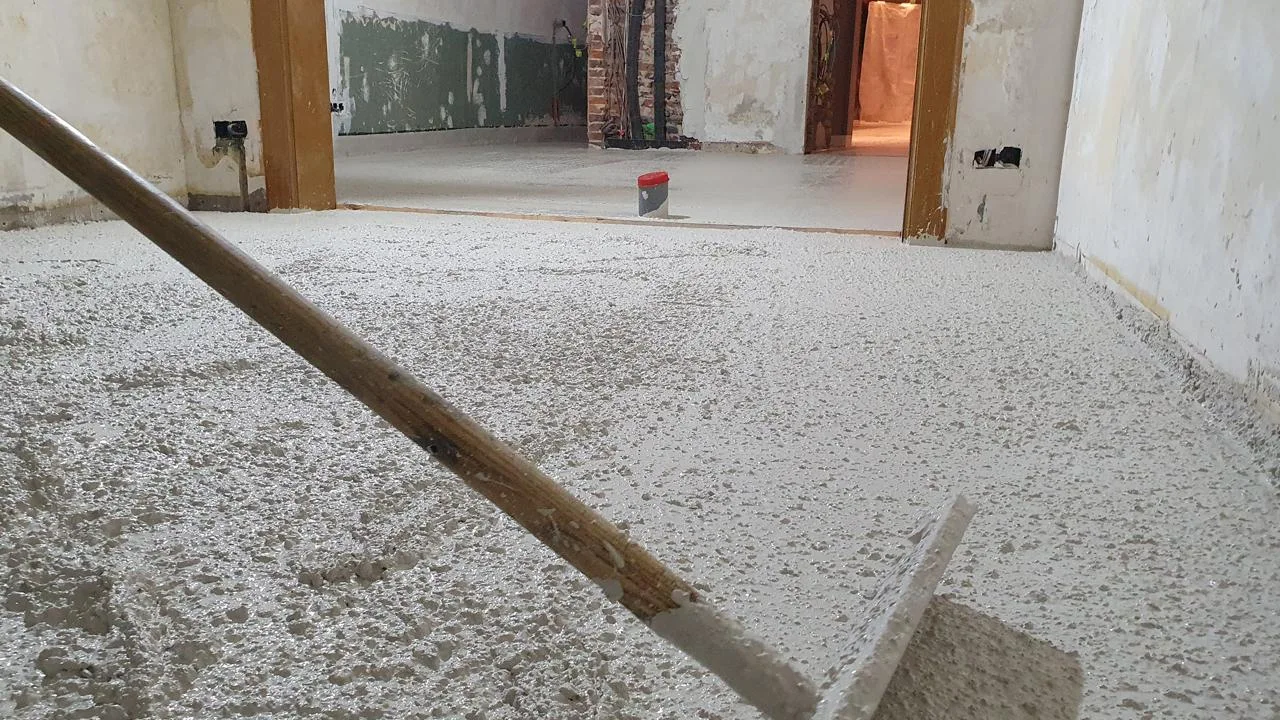
After delivery, the material is spread over the space and brought to the intended level. The photos show the fresh concrete and the tools used to work the surface flat. At this stage, the surface is still rough and the marks of the work are visible.
This is an intermediate stage. The appearance of freshly spread concrete differs greatly from that of a finished floor. This series makes that difference concrete: you see the same site while the material is still being processed and after the surface has been further finished.
Step 3: the polished floor
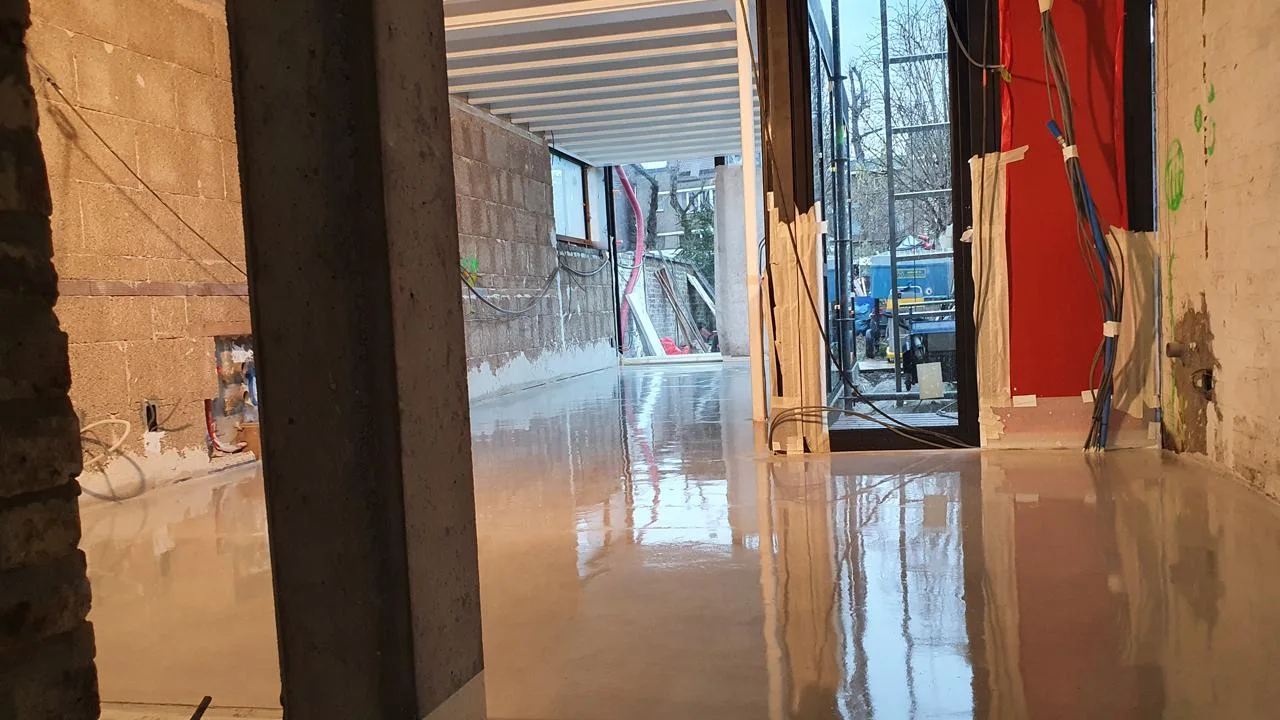
In the next photo, the surface is smoother and the light floor visually continues into the adjacent space. The walls are not yet fully finished. This clearly shows that the images were taken during construction work, not after the complete furnishing of the house.
A concrete floor takes its place in the interior together with doors, walls and other connections. Even during further finishing of the house, attention to the floor remains necessary. Discuss in advance how other contractors will move through the spaces and how the surface will be protected during their work.
Step 4: post-treatment with concrete hardener
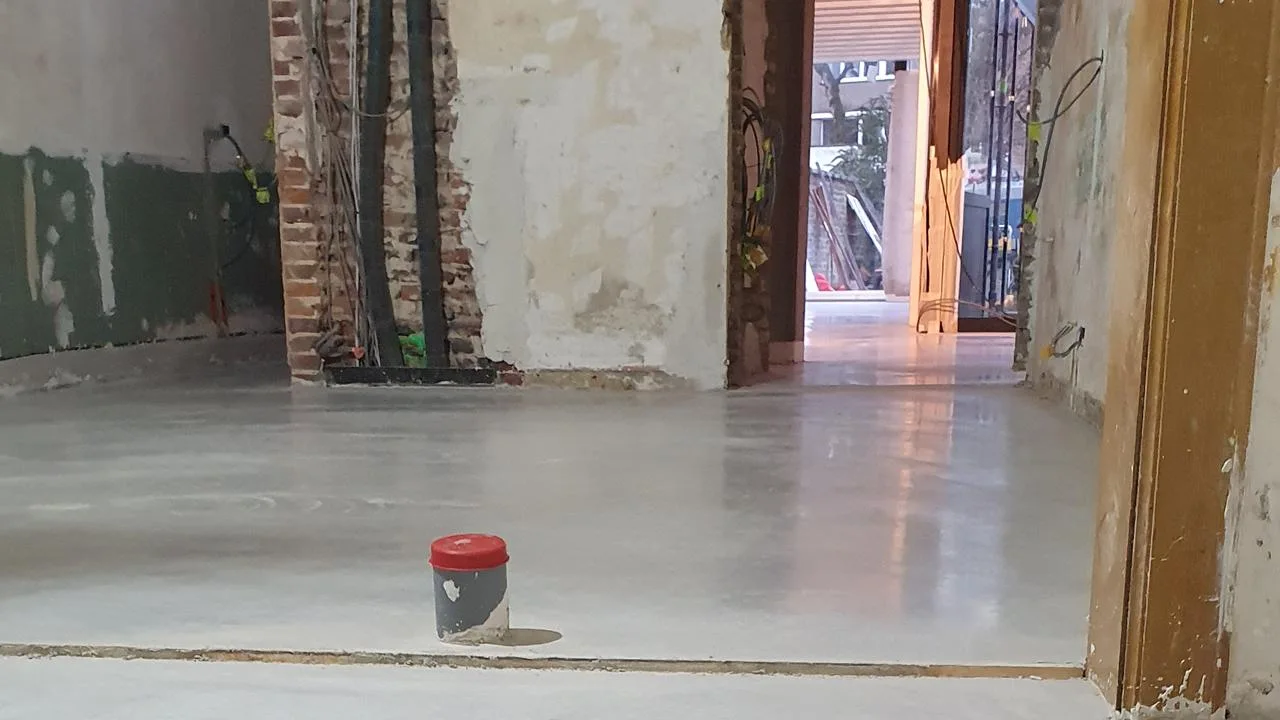
The project report states that after polishing, a concrete hardener was applied. The accompanying photo shows a more reflective surface. The report describes this gloss as a temporary appearance during the treatment; therefore, this photo is not a promise of a permanently high-gloss floor.
For a new residential concrete floor, we discuss which post-treatment is suitable. Product choice, execution and later maintenance belong together. Read more in our explanation about concrete hardener and its application.
White residential concrete for your project?
Discover the possibilities of residential concrete and send us the plans of your home. Together we will review the colour choice, connections and preparation.
Discuss your concrete floor with Glansbeton
White concrete coloured throughout: from pour to polished floor